We will be creating a Maven webapp using the command line and then import it in Eclipse Juno.
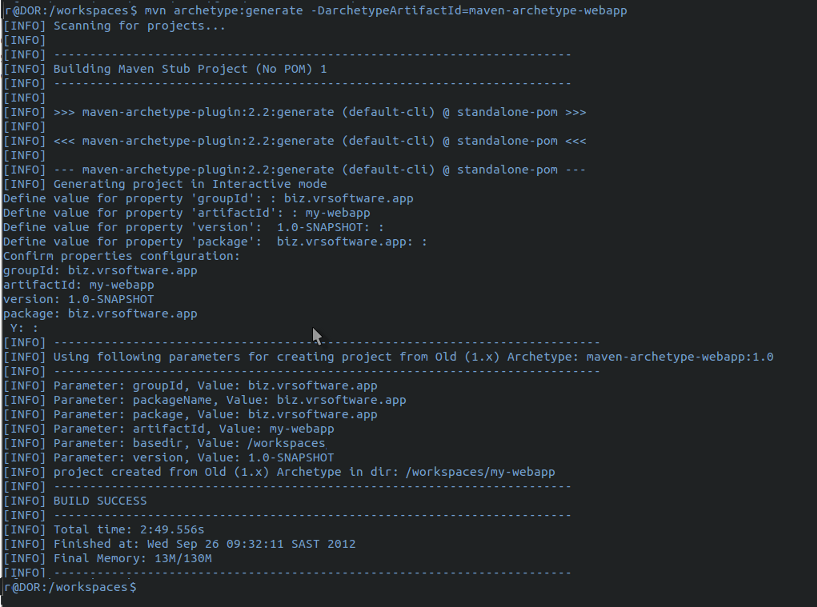
To create the webapp using Maven you need to specify the DarchetypeArtifactId as being a webapp. In your command line you will type the following:
mvn archetype:generate -DarchetypeArtifactId=maven-archetype-webapp
The webapp structure will be created in the directory called my-webapp.
The next steps assume that you have installed the Maven plugin for Eclipse (m2e).
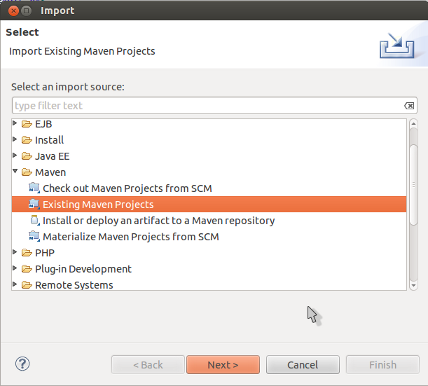
Open Eclipse and from the “File” menu select “Import…” and in the window that opens up find the Maven folder and select “Existing Maven Projects”.
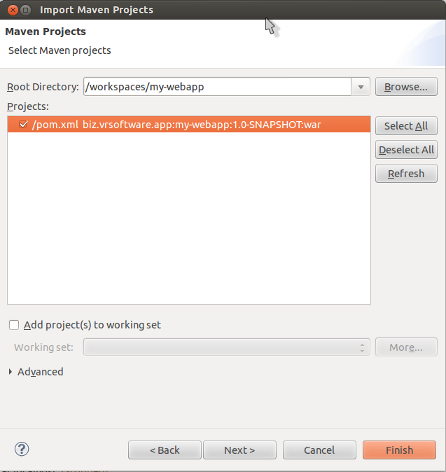
Browse to the directory where you created my-webapp and the pom.xml file is located, in this example that is /workspaces/my-webapp. and click the “Finish” button to complete the import.
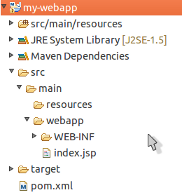
Your project will now appear in Eclipse and you can edit and add source files as you need.
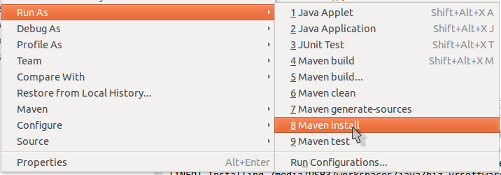
You can run Maven install to let Maven compile your code and put it in the target directory:
If you want to run the application through Eclipse and you’ve already setup your server, then you need to perform some additional steps to make sure that Eclipse will allow you to run the application from the server.
Firstly you will need to convert the project to a faceted form:
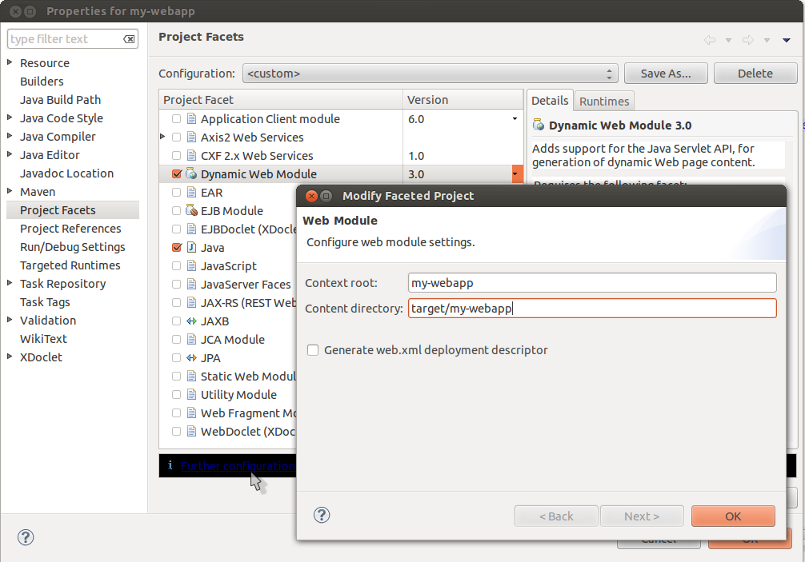
Secondly you will need to add “Dynamic Web Module” in Project Facets and make sure to check the “Further configuration options” and set the Content Directory to the target directory where Maven has placed your compiled code:
And that’s it, you should now be able to add the output of you project to your server and run it from Eclipse!


Recent Comments